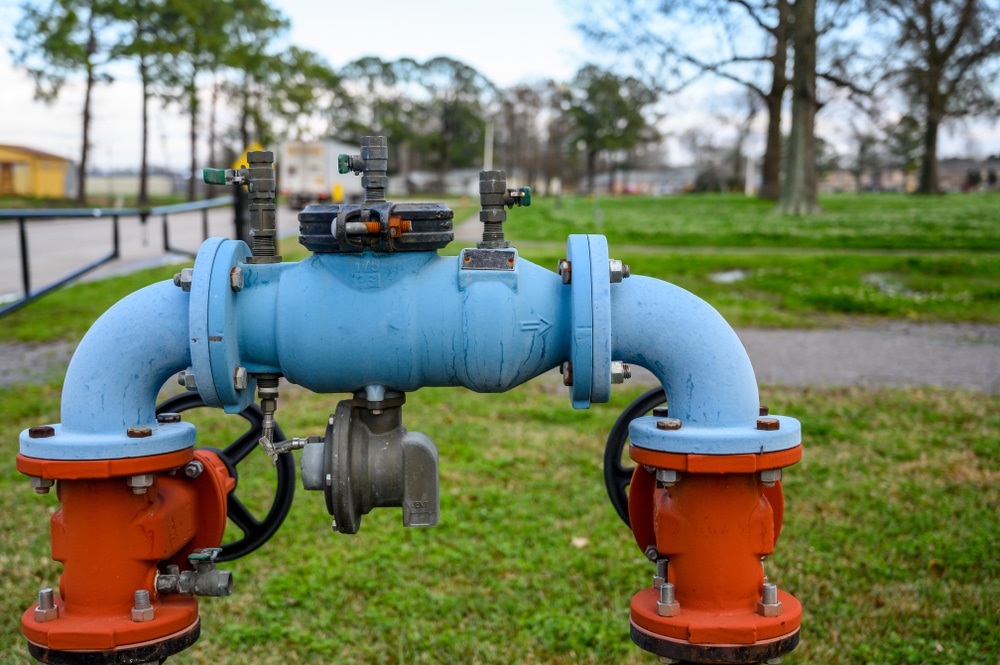
Faucet repairs are essential, providing access to water for drinking, cooking, and cleaning. However, they can develop issues that require attention over time, leading to inconvenience and potential damage. Understanding how to repair a faucet saves you money on plumbing services and empowers you to take control of your home maintenance. By learning the basics of faucet repair, you can ensure that your plumbing functions smoothly and efficiently. MoCo Plumbing will help you explore the key aspects of faucet repair, from diagnosing the problem to reassembling the faucet after repairs, making the process accessible to everyone.
Diagnosis of the Problem
Identifying Common Issues
The first step in faucet repair is to diagnose the issue accurately. Common problems include leaks, low water pressure, or persistent dripping, each requiring a different approach to repair. Recognizing these symptoms early can prevent more significant issues down the line. For example, a slow drip may seem minor but can lead to water waste and increased utility bills. Thus, taking the time to assess the faucet’s performance is critical for effective repairs.
Understanding Faucet Types
Each issue can stem from different causes, such as worn washers, corroded components, or faulty cartridges. Understanding the type of faucet you have—whether it’s a compression, cartridge, ball, or ceramic disc model—will significantly influence the repair process. Each type has unique mechanisms and everyday problems, meaning knowing your faucet type will save you time and frustration. Additionally, it allows you to purchase the correct replacement parts in advance. This knowledge forms the foundation for successful faucet repair.
Conducting a Thorough Examination
A thorough examination of the faucet and its functions will help you pinpoint the root cause of the problem and guide your repair efforts. Look for visible signs of wear, such as rust or buildup around the spout and handle. Testing the faucet’s operation can also provide insights; for instance, low water pressure may indicate a blockage. The more details you gather during this examination, the easier it will be to address the specific issue. This early action prepares the path for successful repairs, making it a crucial part of the process.
Tools and Materials
Essential Tools for the Job
Once you have diagnosed the issue, it’s time to collect the required tools and materials for the repair. Essential tools for faucet repair typically include adjustable wrenches, screwdrivers, pliers, and a basin wrench for hard-to-reach areas. Having the right tools on hand eases the fixing process and mitigates the risk of impairment to the faucet or surrounding plumbing. Organizing your tools and workspace before you begin is a good practice. This preparation will help you work more efficiently and with greater confidence.
Replacement Parts
In addition to tools, you should acquire replacement parts based on the specific problem you’re addressing. Everyday replacement items include washers, O-rings, or cartridges, depending on the type of faucet and the issue at hand. Taking the old part to the store is advisable to ensure you purchase an exact match. Having all the necessary replacement parts ready before starting the repair can help you avoid delays and frustration. This foresight can make the repair process smoother and more efficient.
Preparing for Efficiency
Having these items on hand before you begin repairs will streamline the process and help you avoid interruptions. A well-stocked toolbox allows you to focus solely on the repair without unnecessary distractions. Furthermore, preparing your workspace by clearing away clutter can help you stay organized and efficient. Setting up a comfortable environment will also enhance your focus and reduce stress during the repair. Ultimately, adequate preparation is vital in ensuring a successful faucet repair experience.
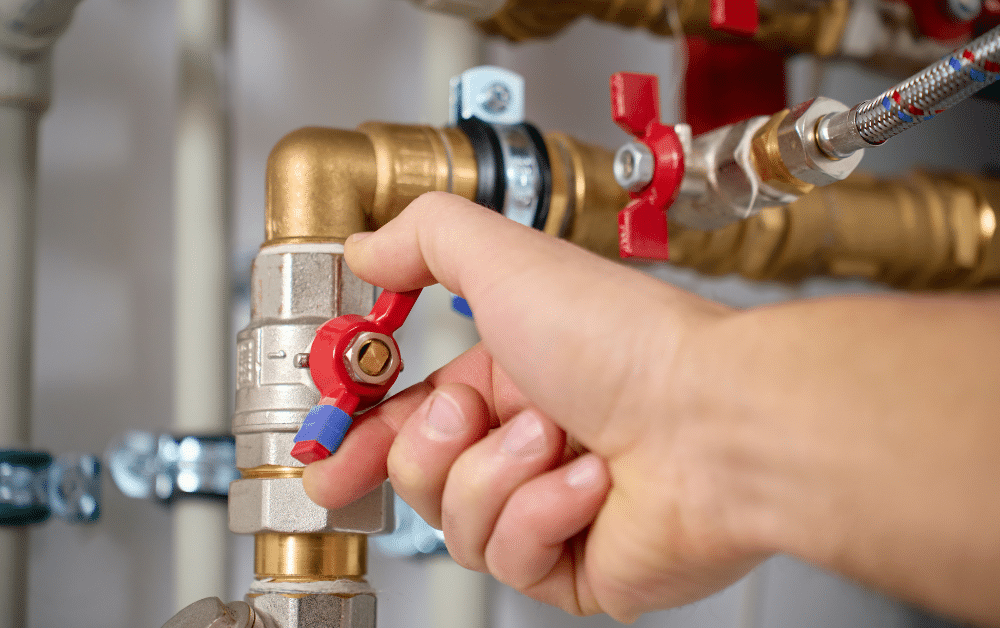
Turn Off the Water Supply
Prioritizing Safety
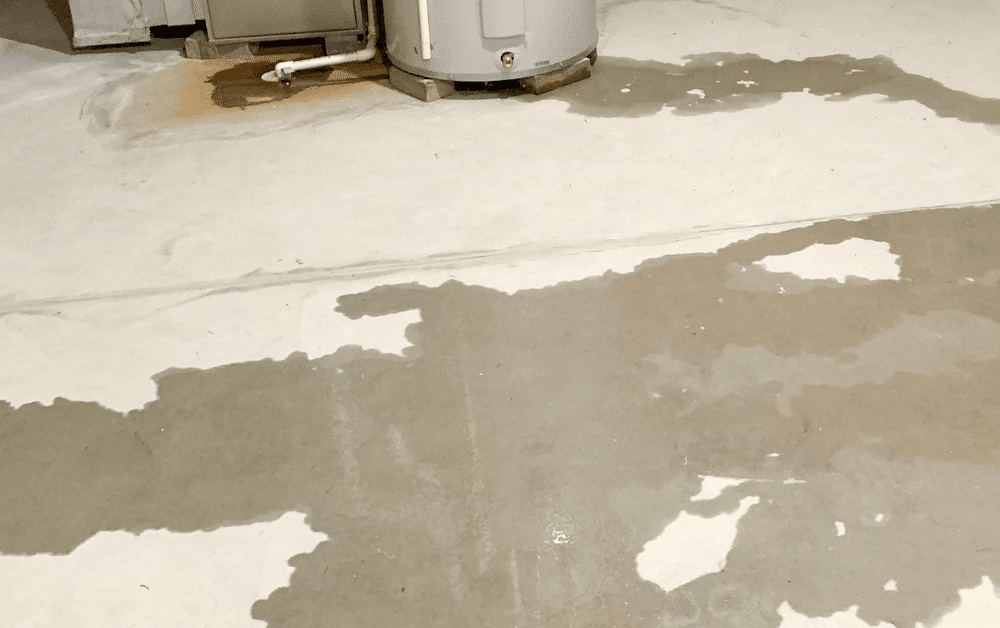
Before diving into the repair, safety should be your top priority. Turning off the water supply to the faucet is crucial to prevent any potential flooding or messes. This precaution is not merely a safety measure; it protects you from dealing with a water-drenched workspace during repairs. Ensuring the water supply is turned off gives you peace of mind as you work. Taking this step seriously can save you a lot of trouble and hassle.
Locating Shut-Off Valves
Locate the shut-off valves under the sink to turn off the water supply. These valves are usually positioned close to the wall and can be turned clockwise until fully closed. If your faucet does not have In the case of dedicated shut-off valves, you might have to cut off the main water supply for the house. Once the water is turned off, it’s a good idea to label the valves for future reference, making future repairs easier. This step is essential for a successful faucet repair.
Draining the Faucet
Once the water has been shut off, turn the faucet on to drain any water left in the pipes. This step ensures you can work without water rushing out unexpectedly, preventing any messes or complications during the repair. Draining the faucet also allows you to assess the issue more effectively, giving you a clear view of the components. Moreover, it helps reduce the pressure in the plumbing system, making it safer to work on. Taking these precautions prepares you for a smoother repair process.
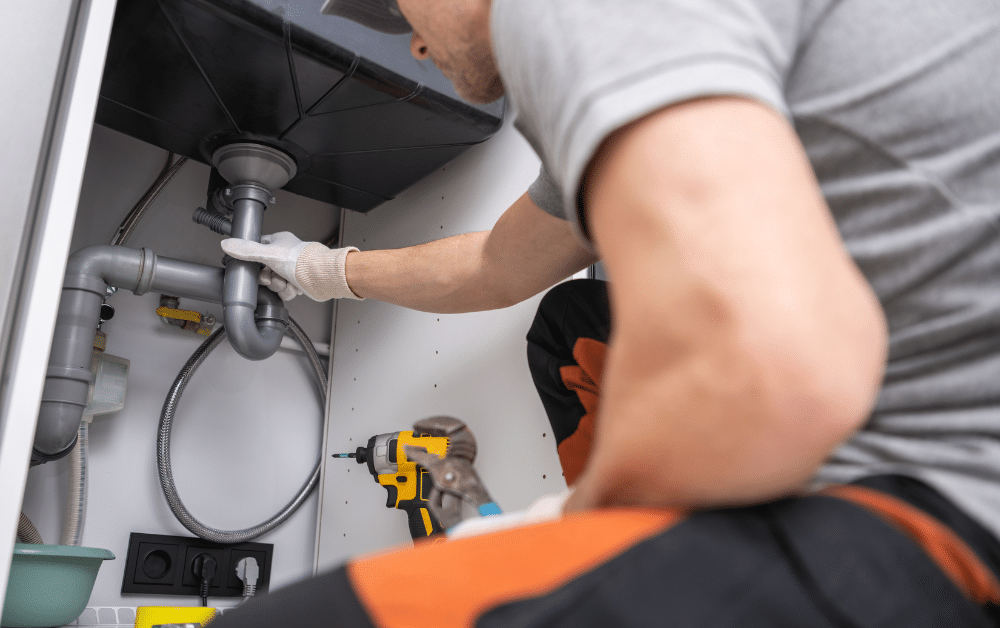
Disassembly and Inspection
Carefully Removing Components
With the water supply turned off, you can begin the disassembly of the faucet. Start by carefully removing the handle and any decorative components, being mindful not to damage them. Use the appropriate tools to loosen screws or nuts without stripping them. Time during this step is crucial; rushing can lead to broken parts requiring additional repairs. Documenting the disassembly process can also help you remember how to reassemble the faucet later.
Inspecting for Damage
Once the faucet is removed, evaluate the internal elements for signs of wear, corrosion, or damage. Look for issues like frayed washers, cracked cartridges, or mineral buildup that could affect performance. This inspection is vital, as it allows you to identify which parts need to be replaced or cleaned. Paying attention to subtle indicators of damage can prevent future problems and extend the life of your faucet. Thorough inspections lead to more effective repairs.
Keeping Track of Parts
Be sure to keep track of all screws and small parts to avoid losing them during the process. A magnetic tray or a small container can help organize these components while you work. Losing essential parts can complicate the reassembly process and delay your repairs. Additionally, labeling parts as you disassemble can further simplify reassembly. Taking these organizational steps helps ensure a more efficient repair experience.
Reassembly and Testing
Putting It All Back Together
After replacing any damaged parts, it’s time to reassemble the faucet. Carefully put each component back in its original place, following the order you disassembled them. Double-check that each part is aligned correctly and that screws are tightened securely without overtightening. Taking your time during reassembly can help prevent future leaks or issues. This methodical approach will lead to a more successful repair outcome.
Turning on the Water Supply
Once everything is reassembled, Reactivate the water flow system and test the faucet for any signs of leakage. Start with the shut-off valves beneath the sink and carefully turn them to allow water to pass through. Watch for any signs of leakage around the newly replaced parts as the water begins to flow. This assessment phase is important for ensuring that your repairs are adequate. If everything is functioning well, you can proceed to the final testing.
Final Testing
Run both hot and cold water to ensure that the faucet functions correctly and that there are no leaks. Pay attention to the water pressure and flow rate, ensuring they meet your expectations. If you notice any leaks or issues, you may need to revisit your repairs to address the problem. Performing a thorough final test can save you from future headaches and ensure that your faucet is in top condition. This final step confirms that your faucet repair has been successful.
Conclusion
In conclusion, understanding the faucet repair process is essential for any homeowner. You can effectively tackle the most common faucet issues by diagnosing the problem, gathering the right tools, safely turning off the water supply, conducting a thorough inspection, and carefully reassembling the faucet. Each step contributes to a successful repair and extends the life of your plumbing fixtures. If you’re experiencing problems with your faucet, don’t hesitate to take action today and restore its functionality. Happy repairing!
Ready to tackle that leaky faucet? Don’t wait any longer! Gather your tools and get started on your faucet repair project today. Contact MoCo Plumbing today for advice if you have any questions or need further assistance. Let’s make your home a more functional and efficient space!